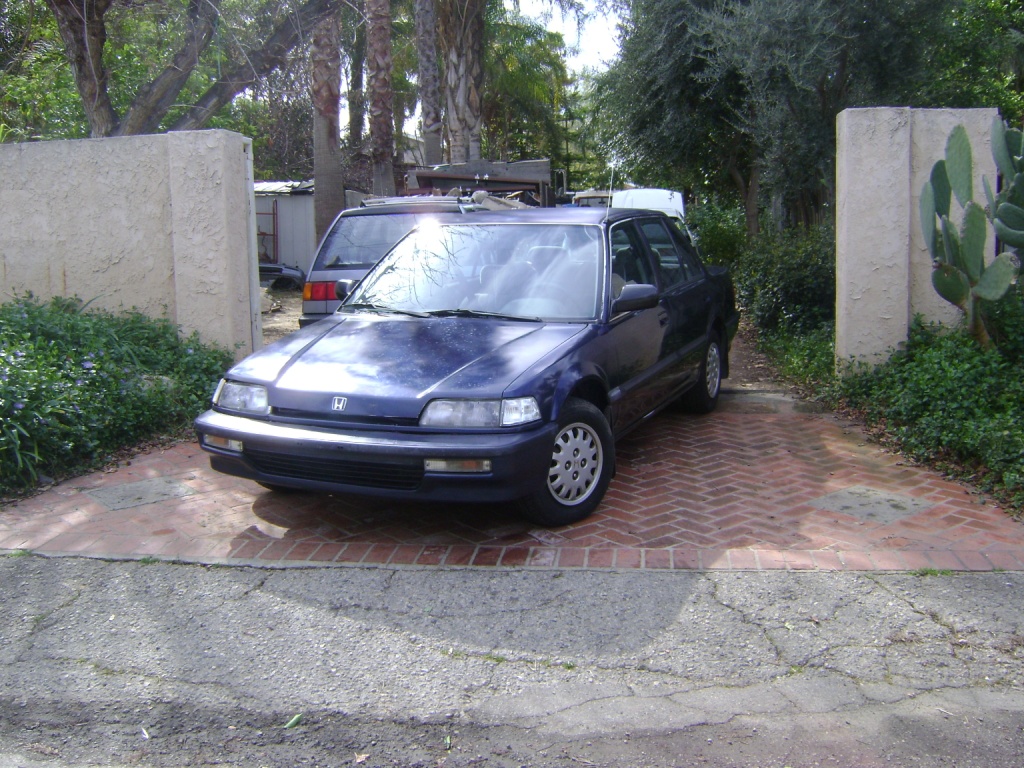
DIY Collision Repair
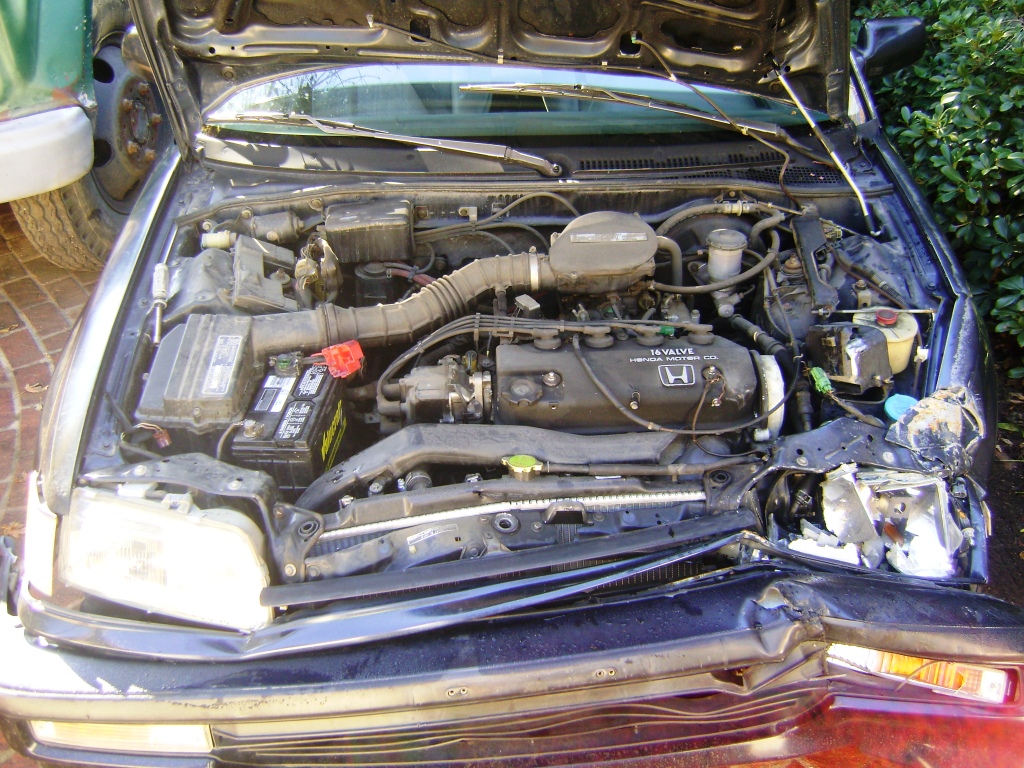
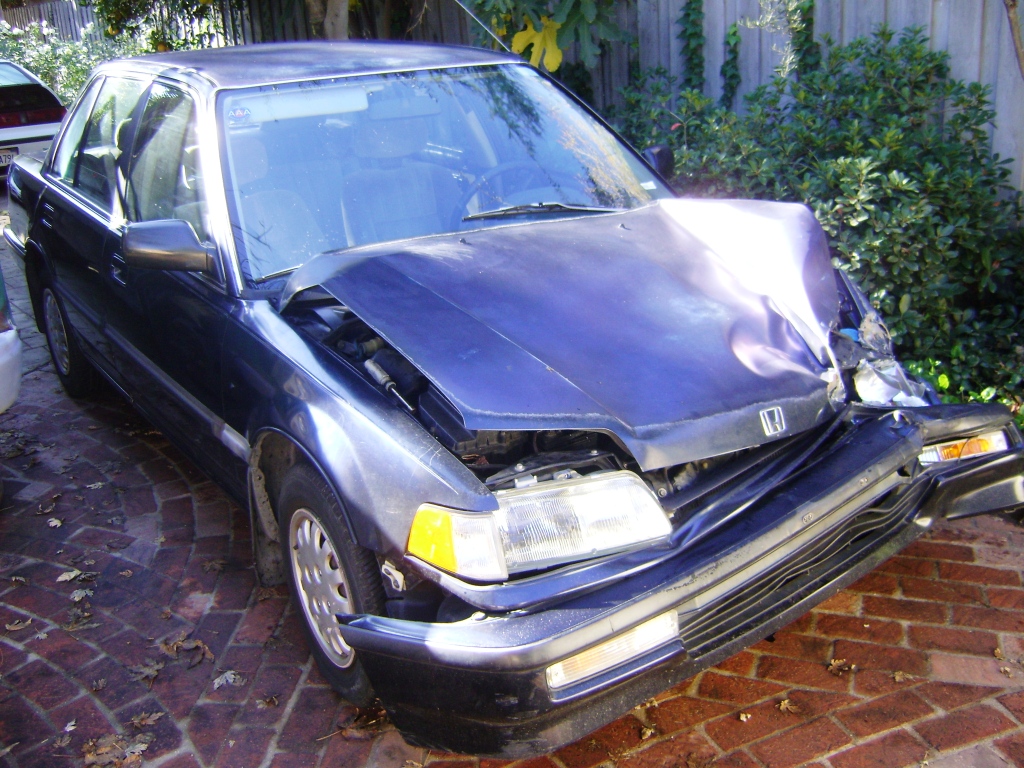
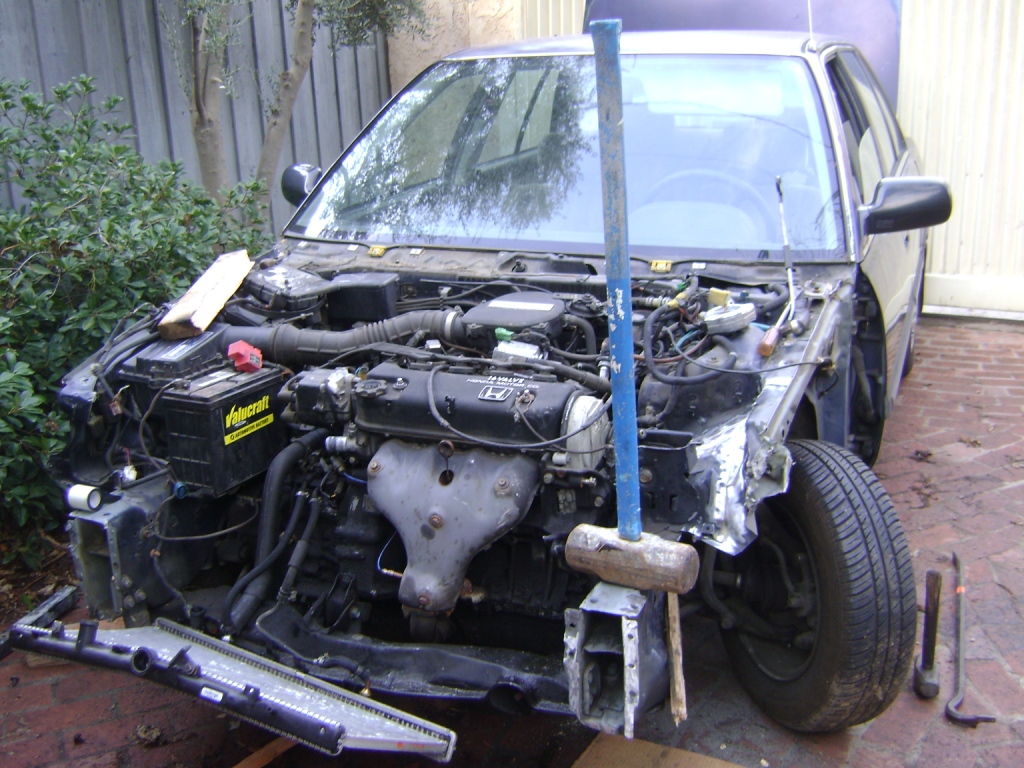
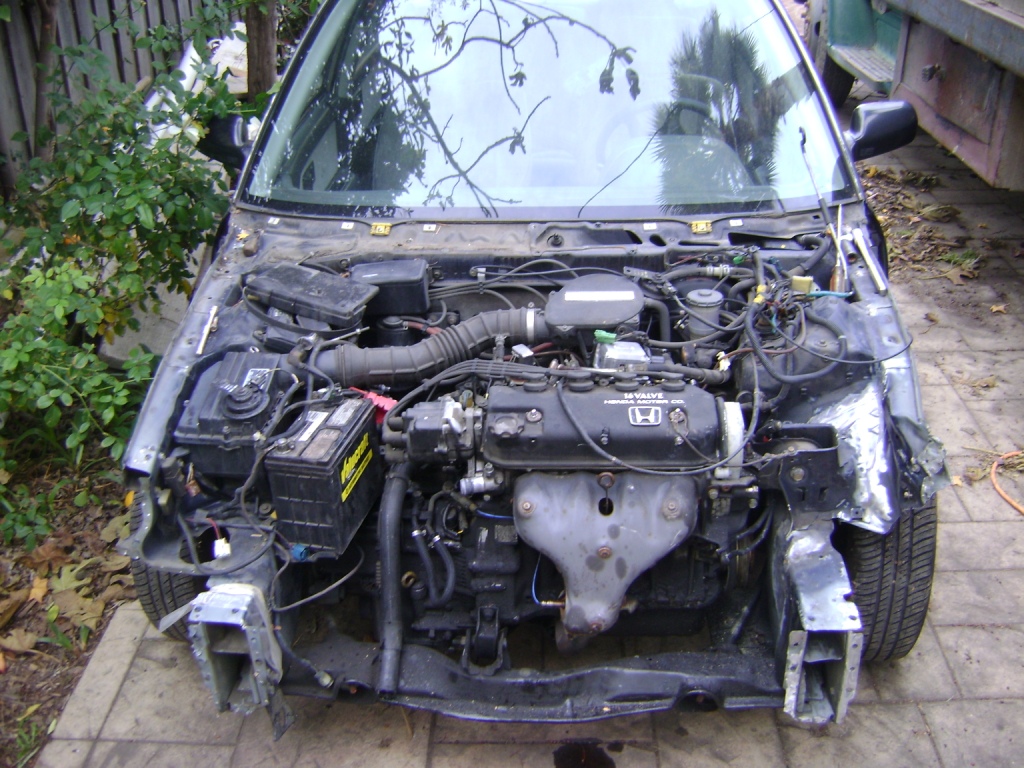
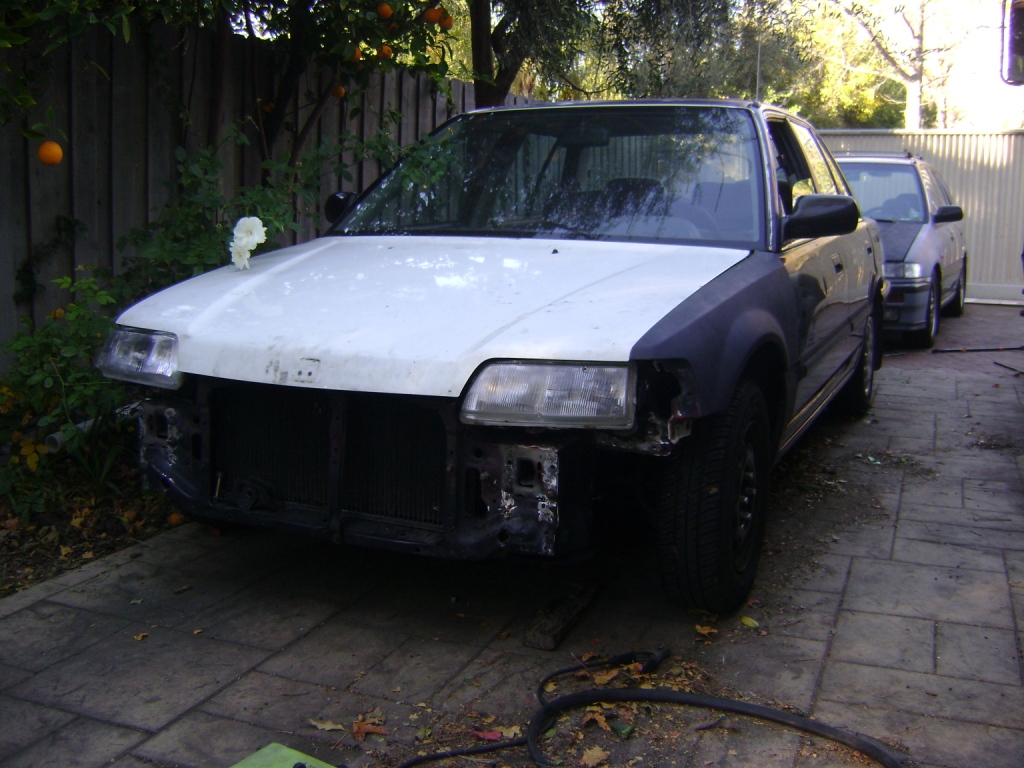
The car shown above is a wrecked 1991 Civic LX that I bought at a police auction. It was a clean, original-owner car with 134k miles. I didn't buy it with the intention of selling it for a quick buck or anything, but rather to prove to myself that I could fix a wreck as bad as this. With older cars like this getting more expensive and harder to find, it makes sense a lot of times to fix minor to moderate collision damage rather than scapping the car, in my opinion.
While I had fixed cars with similar damage before, what made this one different is that it had frame damage. Not wanting to pay a frame shop $500 to straighten minor frame distortion on a $300 car, I tried a few different low-buck methods before settling on the one that worked best- a sledgehammer.
This is not a really a how-to, instead, it shows what is more or less involved in such a repair. The steps I took are not necessarily the ones you should take; as always, use common sense before taking on a job like this, especially one as big and as important as this.
Also worth noting is that even though the repairs shown were performed on a Civic, the same basic repair principles also apply to most cars out there today.
The victim: one badly smashed '91 Civic. Besides the accident damage, it was a pretty clean car.
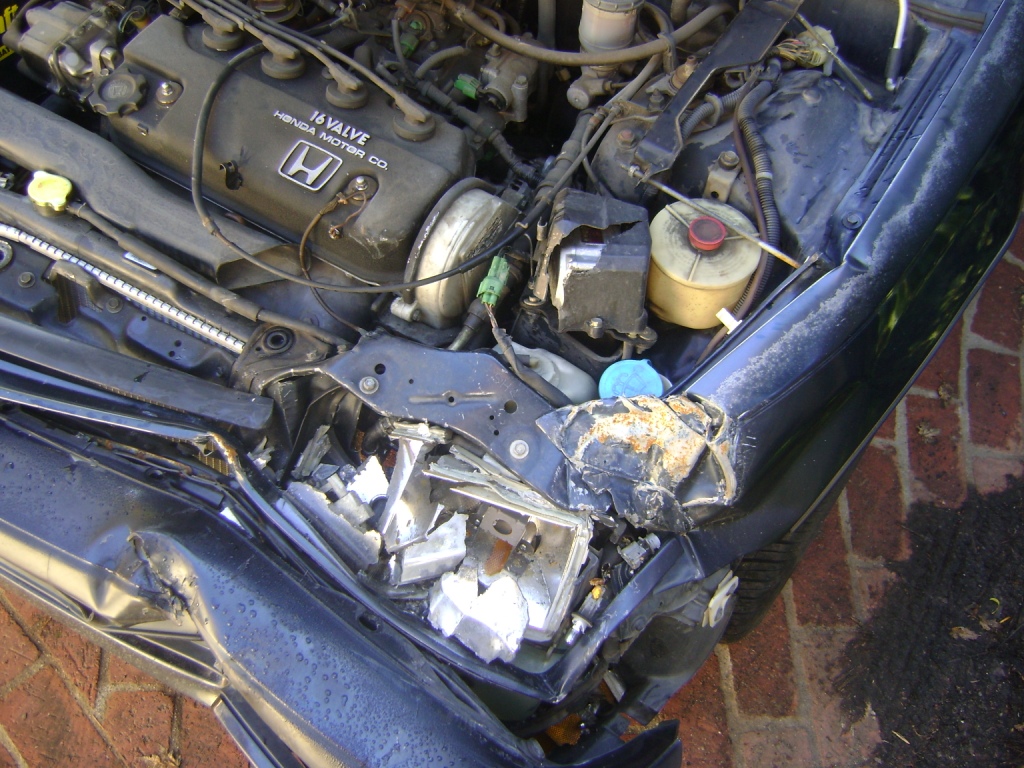
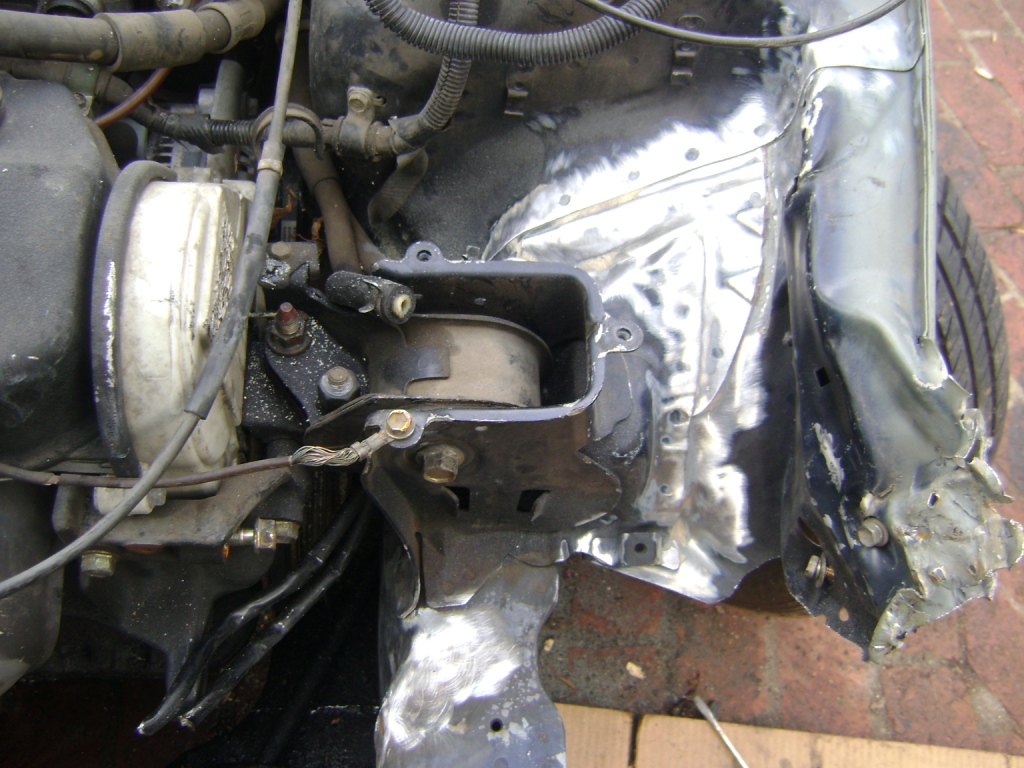
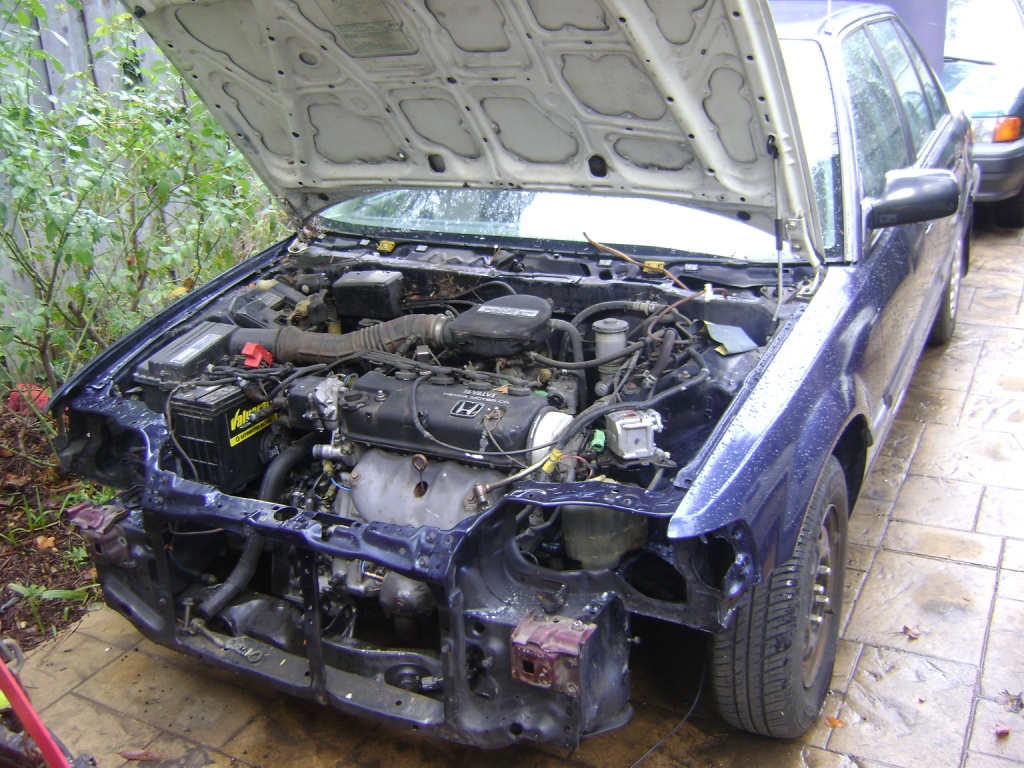
Once the radiator support was cut off, the frame damage was easier to see. The driver's side frame rail turned out to be bent inward about 2 inches. Several meathods were tried to straighten it, including pulling on the frame rail from a tree with a chain hoist, but ultimately only a sledgehammer was up to the job.
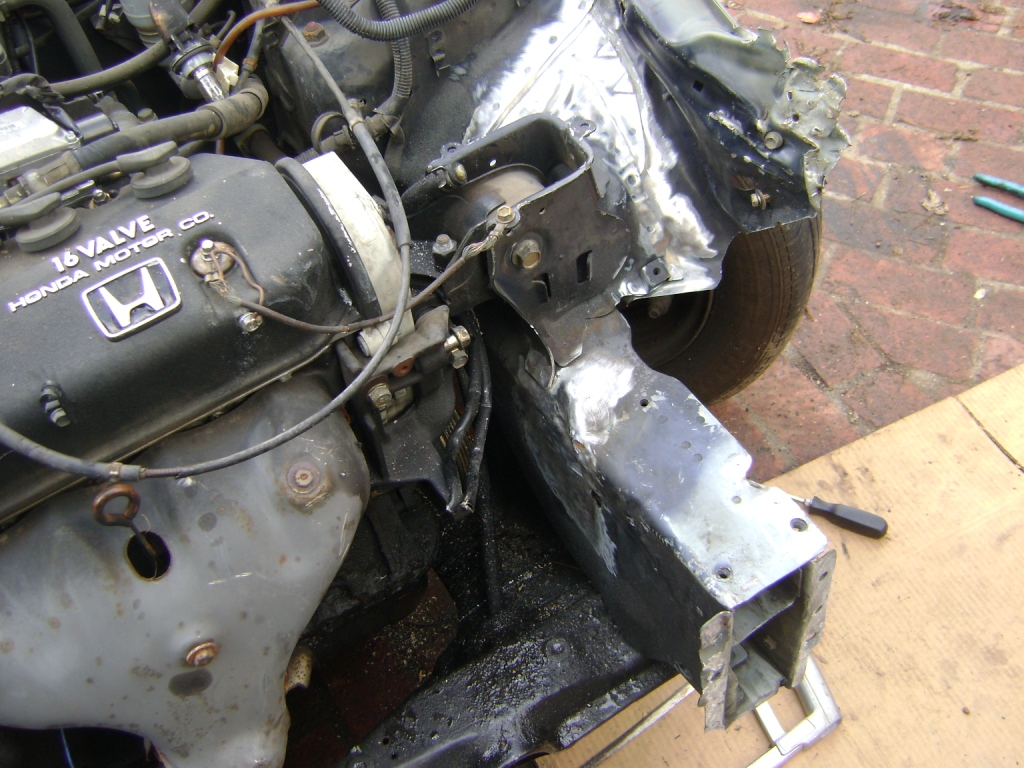
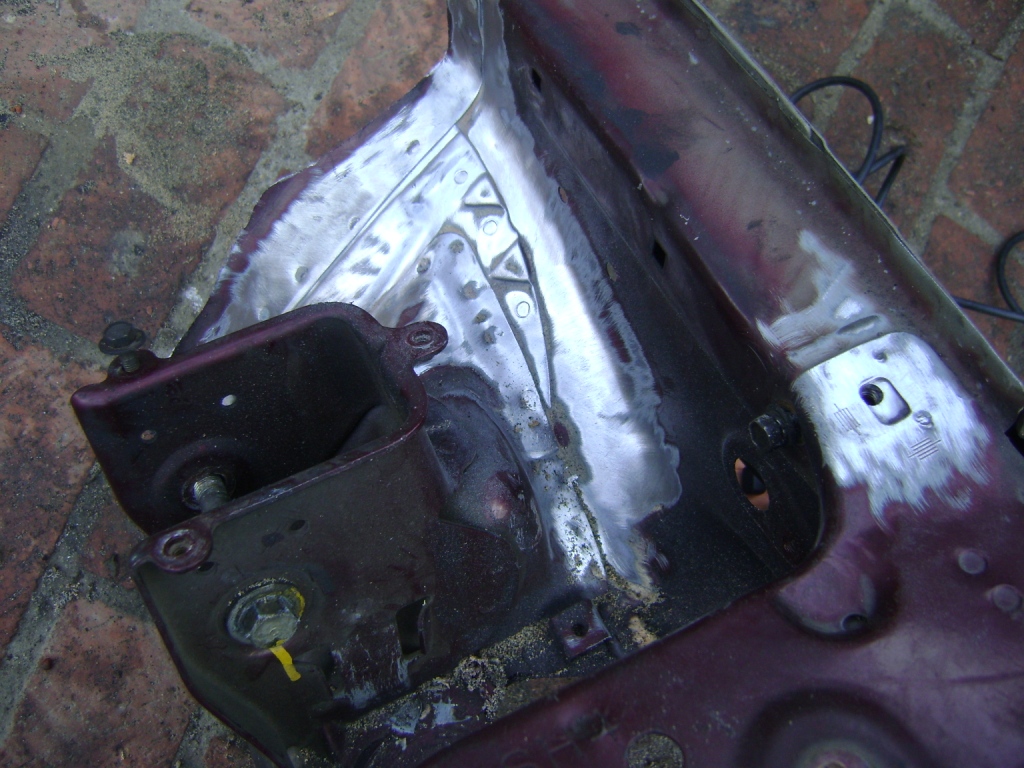
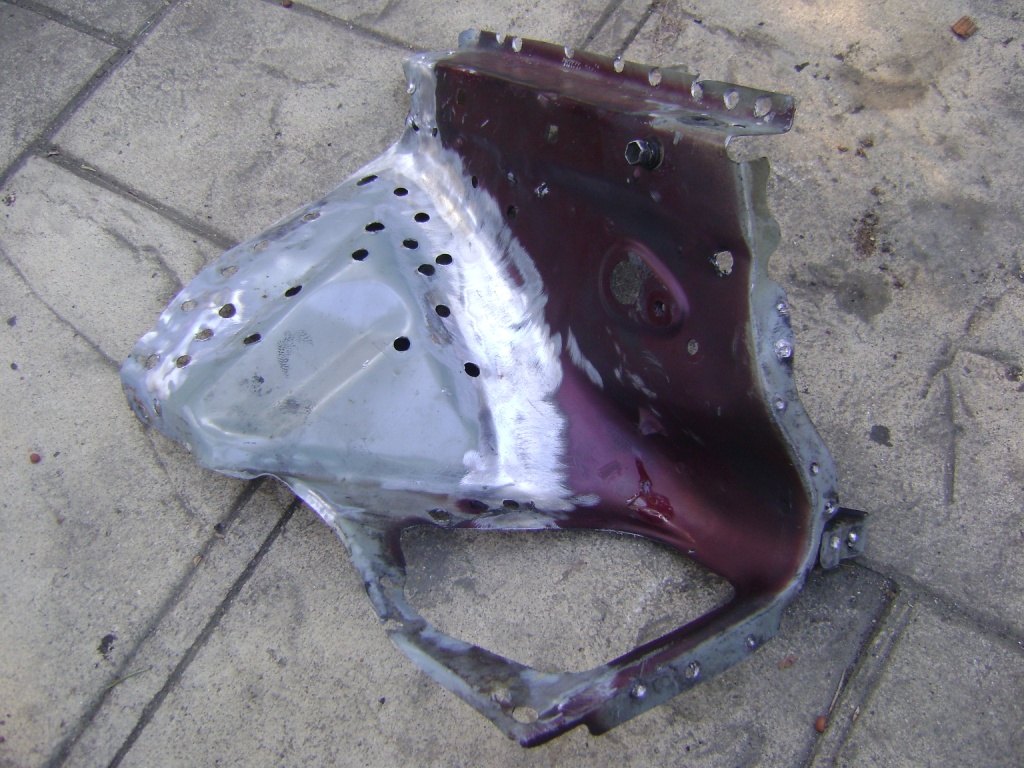
On this particular car, the driver's side wheelhouse was also pretty smashed up and in need of replacement.
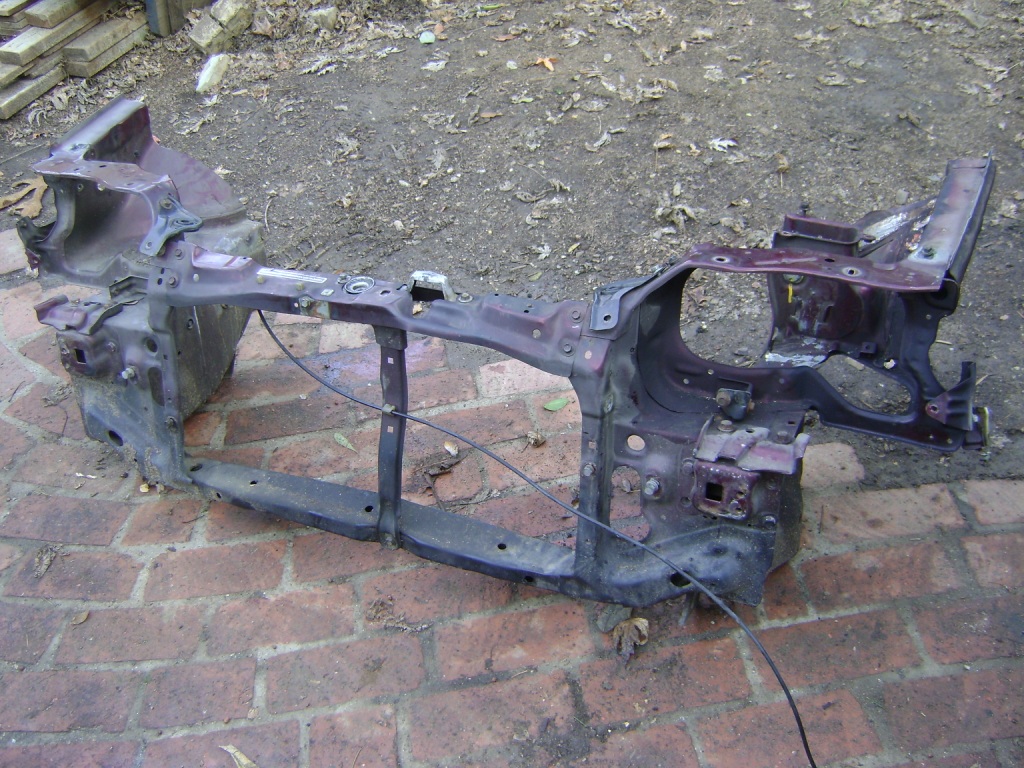
The donor parts. We cut this radiator support off ourselves with a battery-powered reciprocating saw at a local self-service salvage yard.
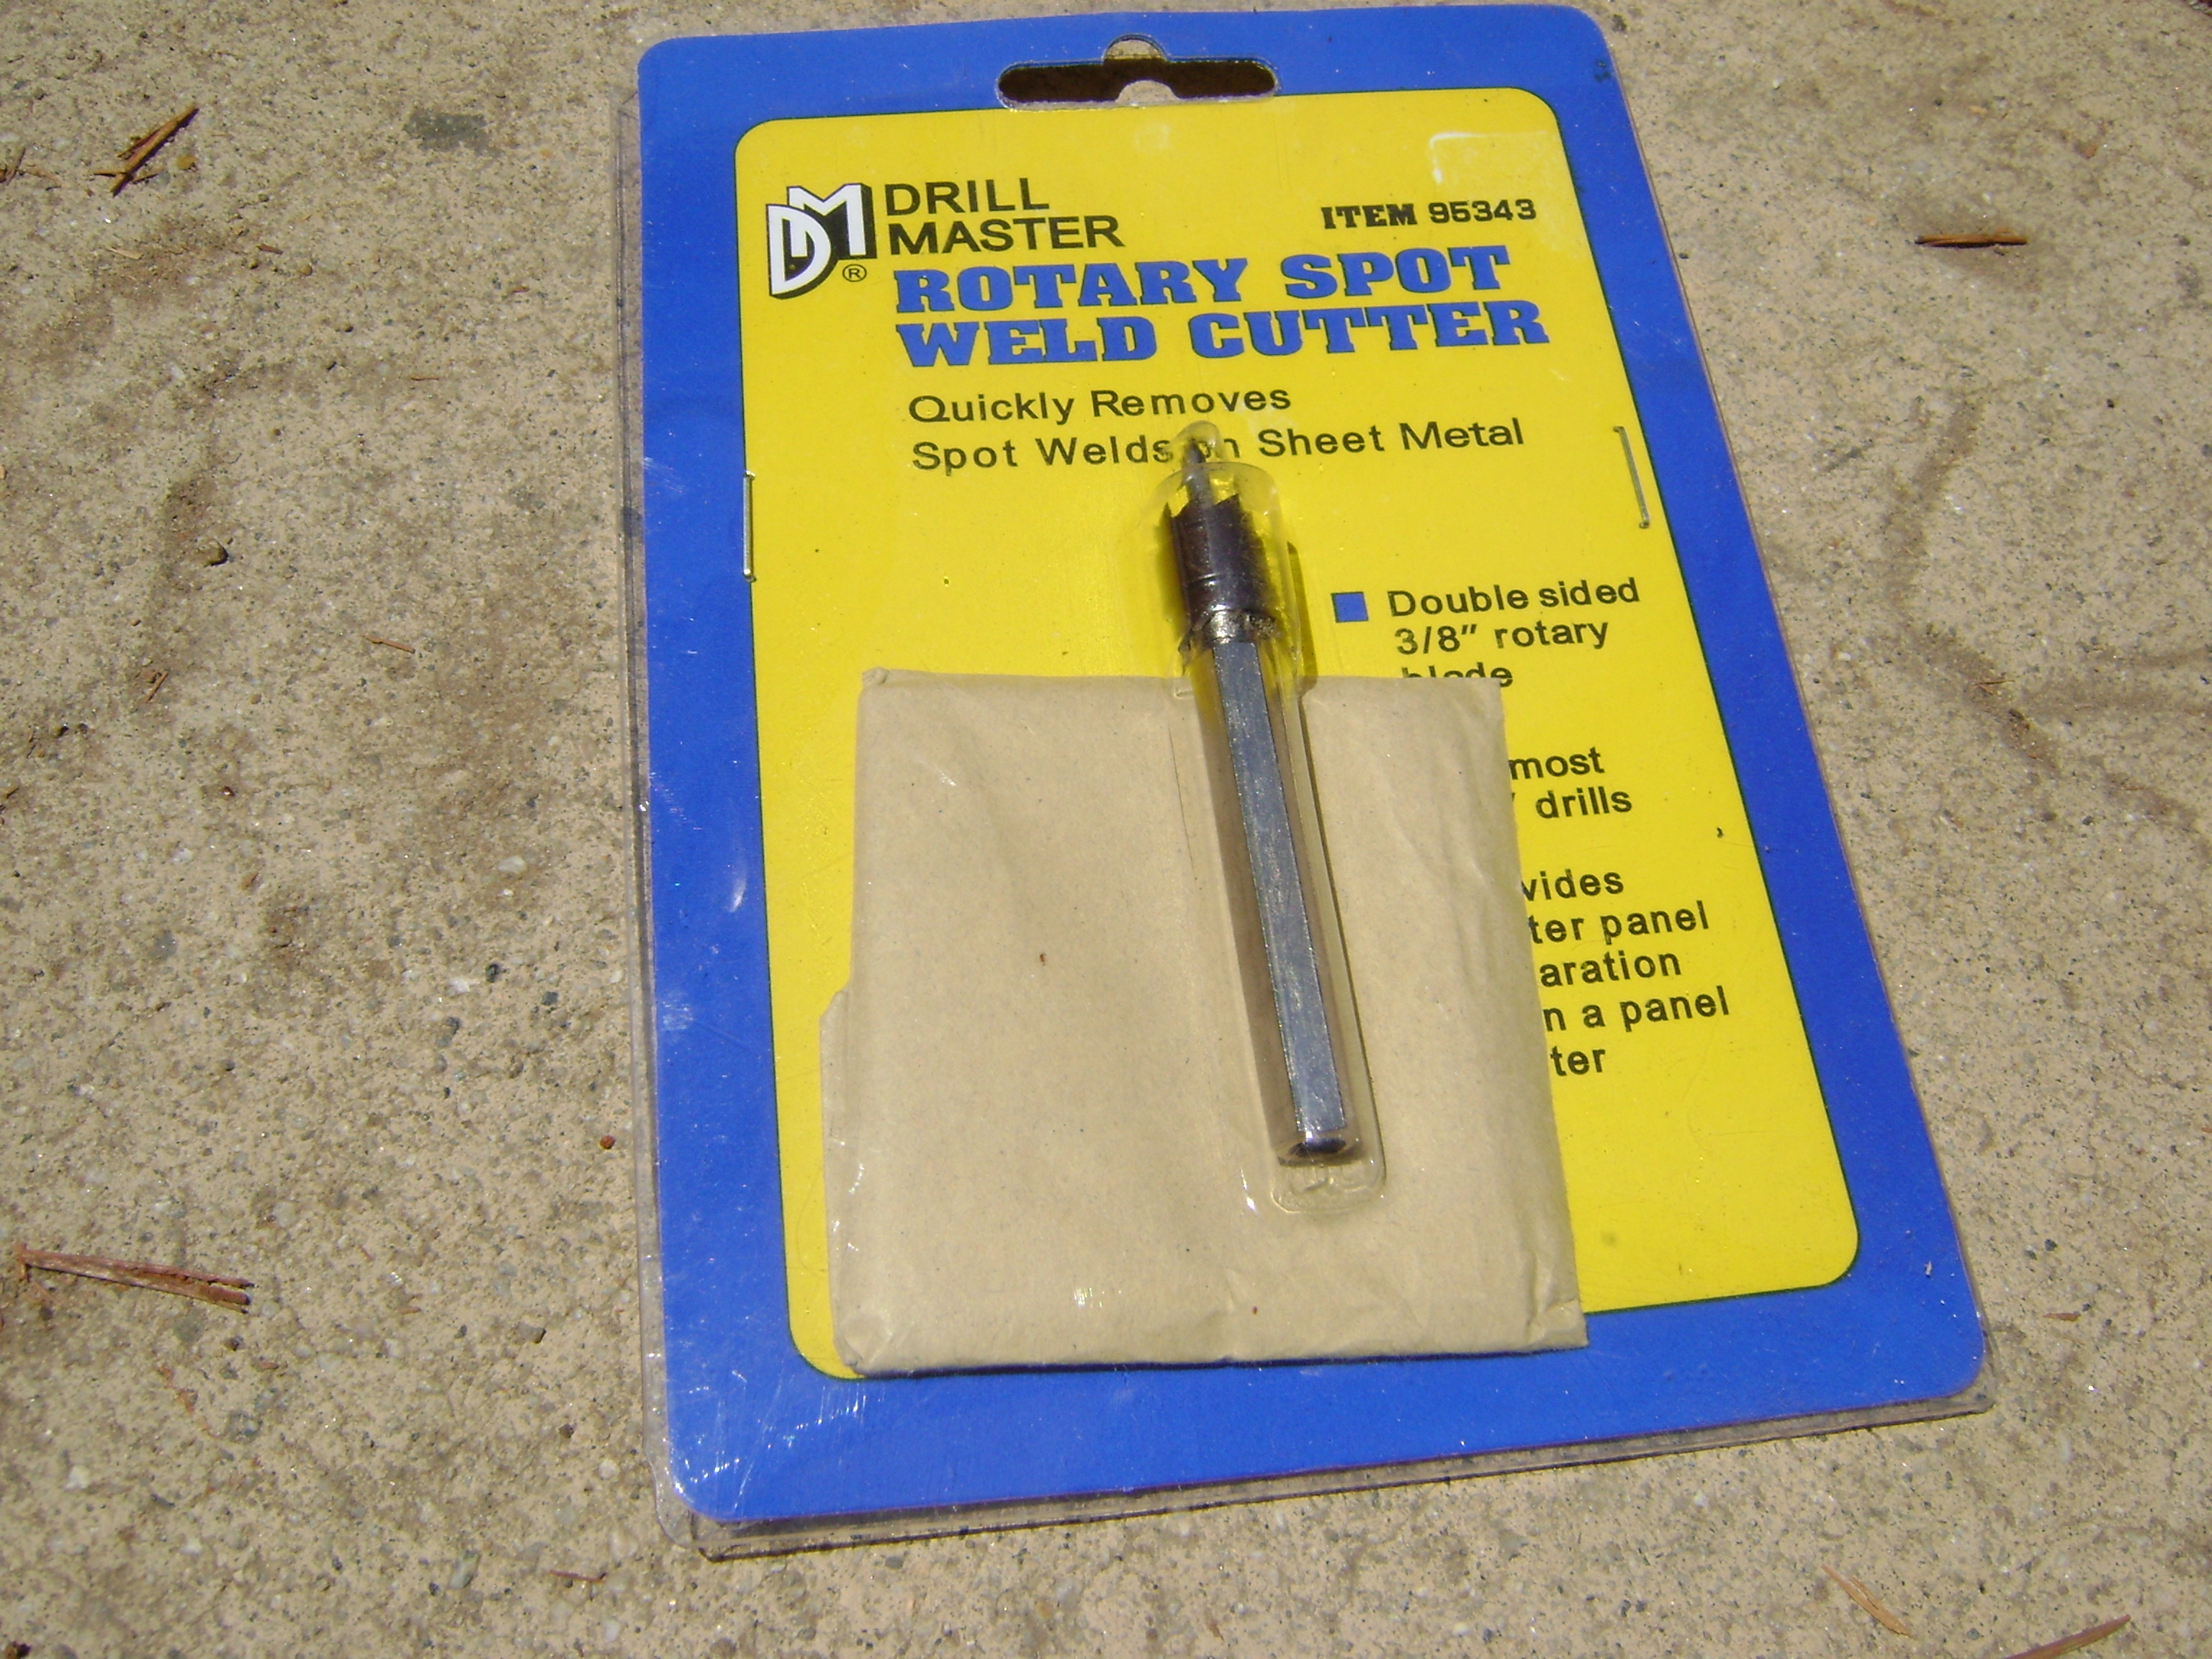
A proper spot weld cutter makes for easier and cleaner spot weld cuts, compared to a standard drill bit. Harbor Freight carries these, you'll probably need more than one for a job like this.
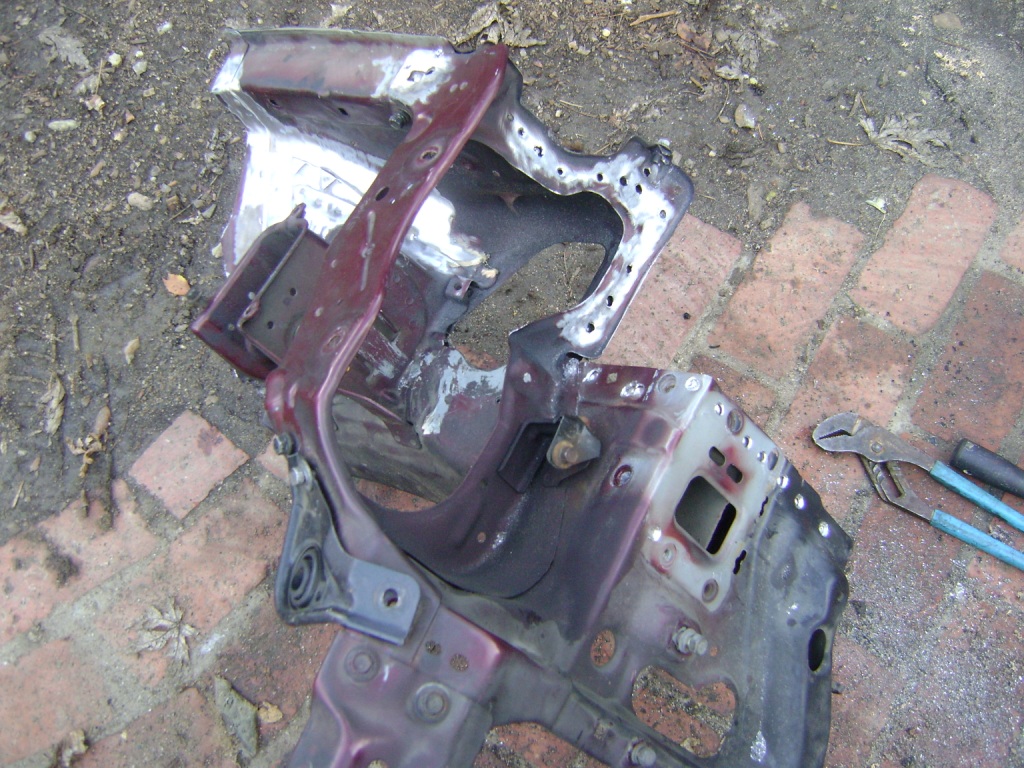
Separating the radiator support from the wheelhouse. These will be installed separately. Notice the spot welds that have already been cut out.
Various test fits.
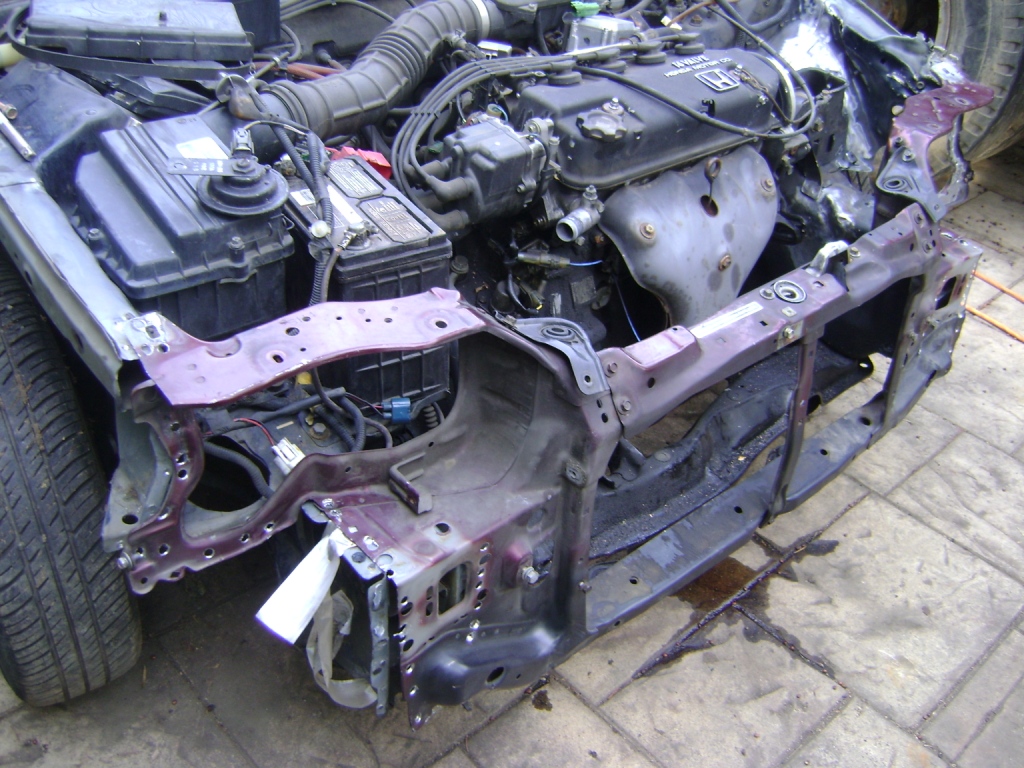
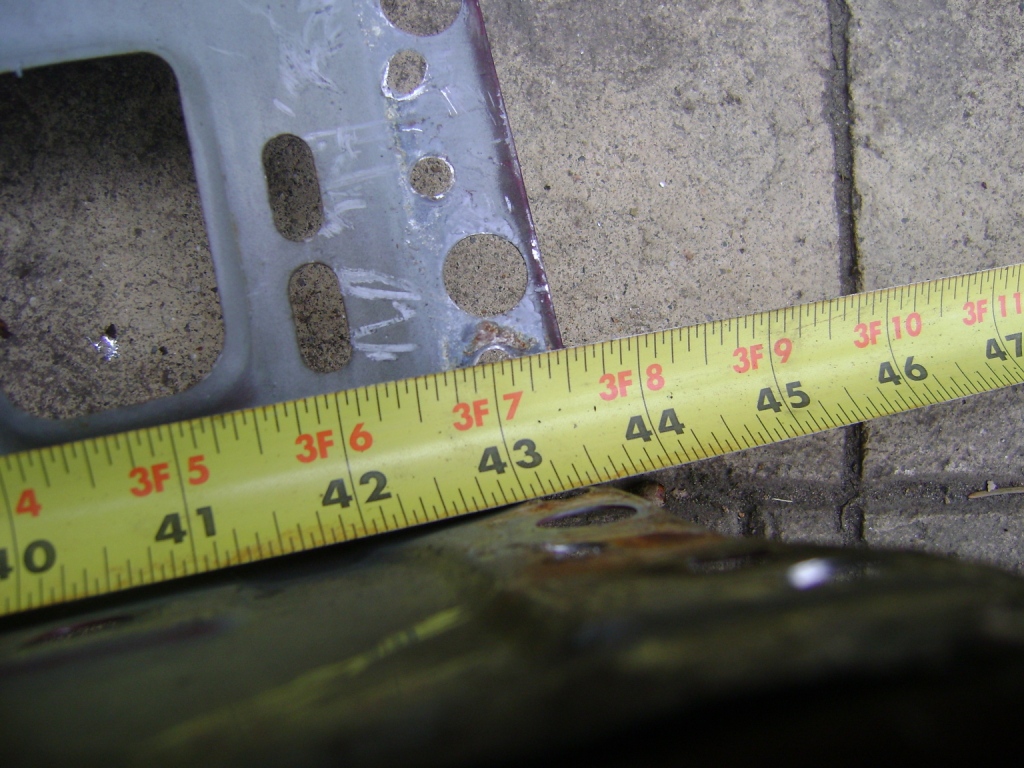
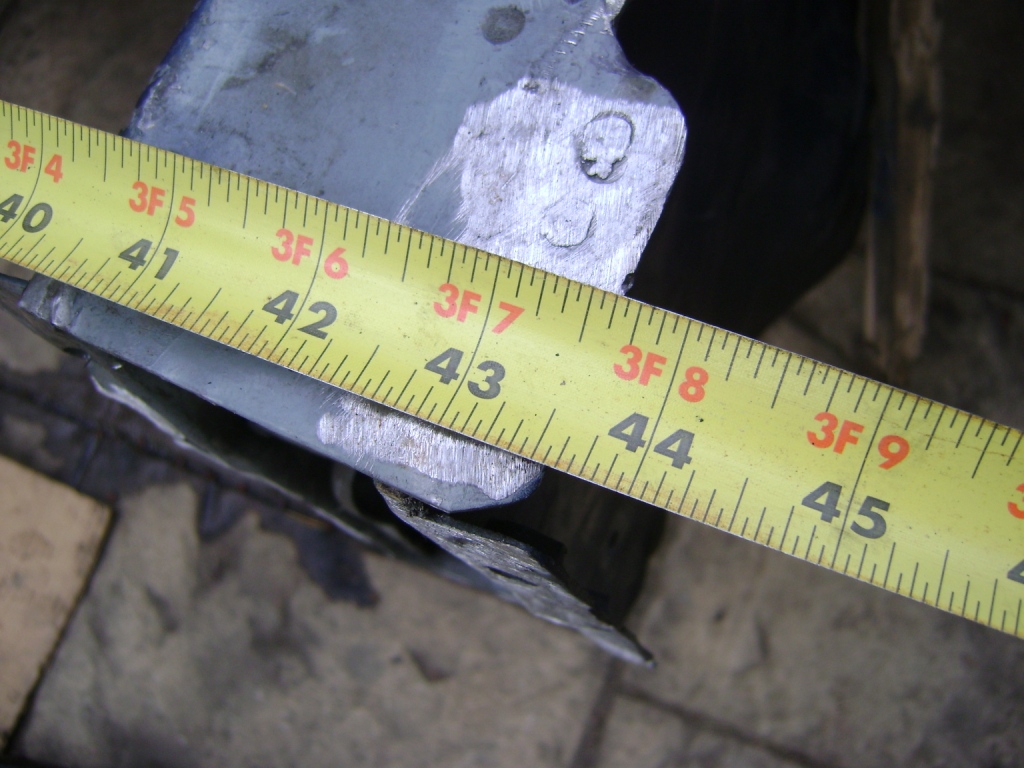
Installing the wheel house and radiator support. I used a cheap flux-core welder, making sure to grind down the welds when I was done.
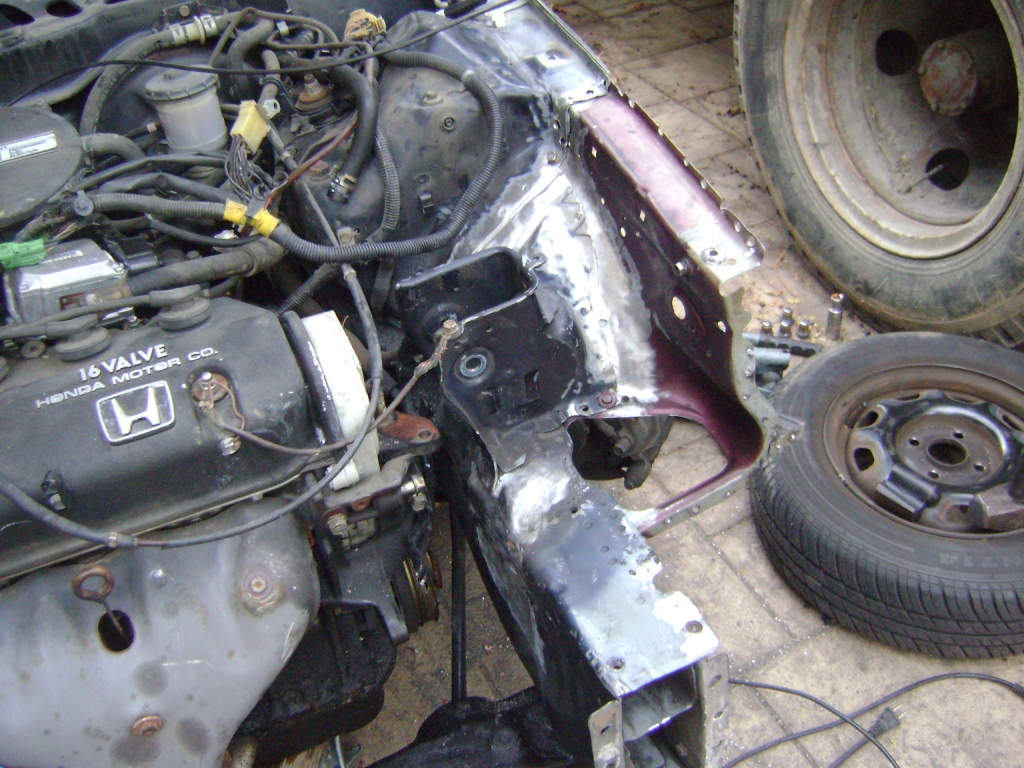
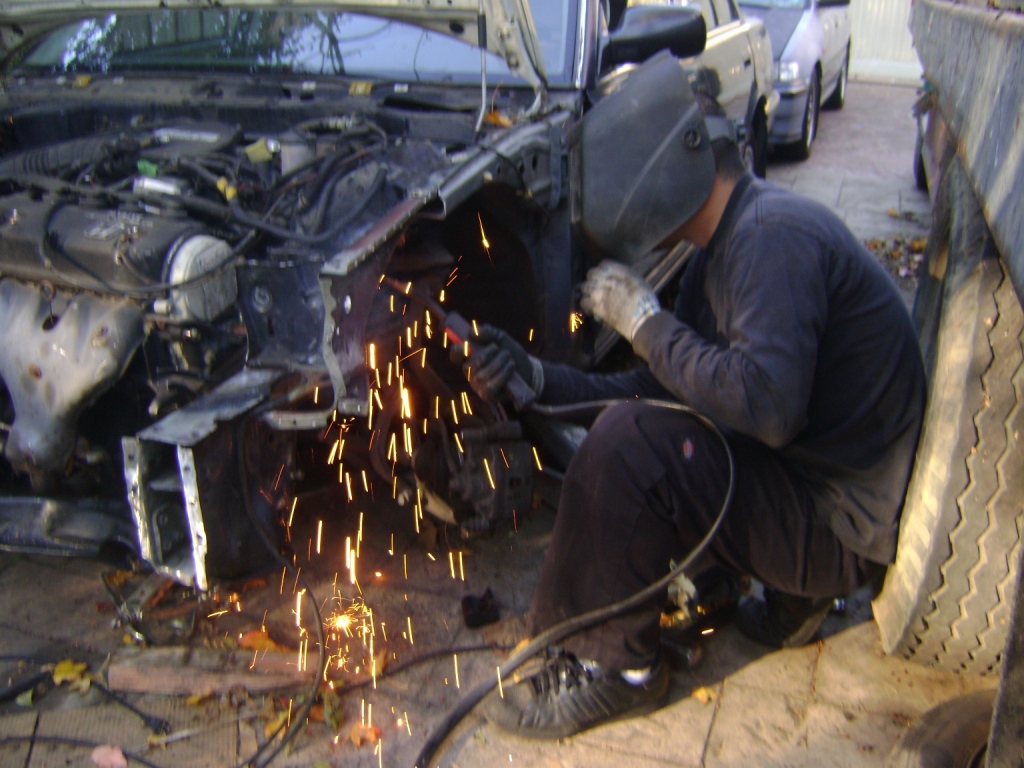
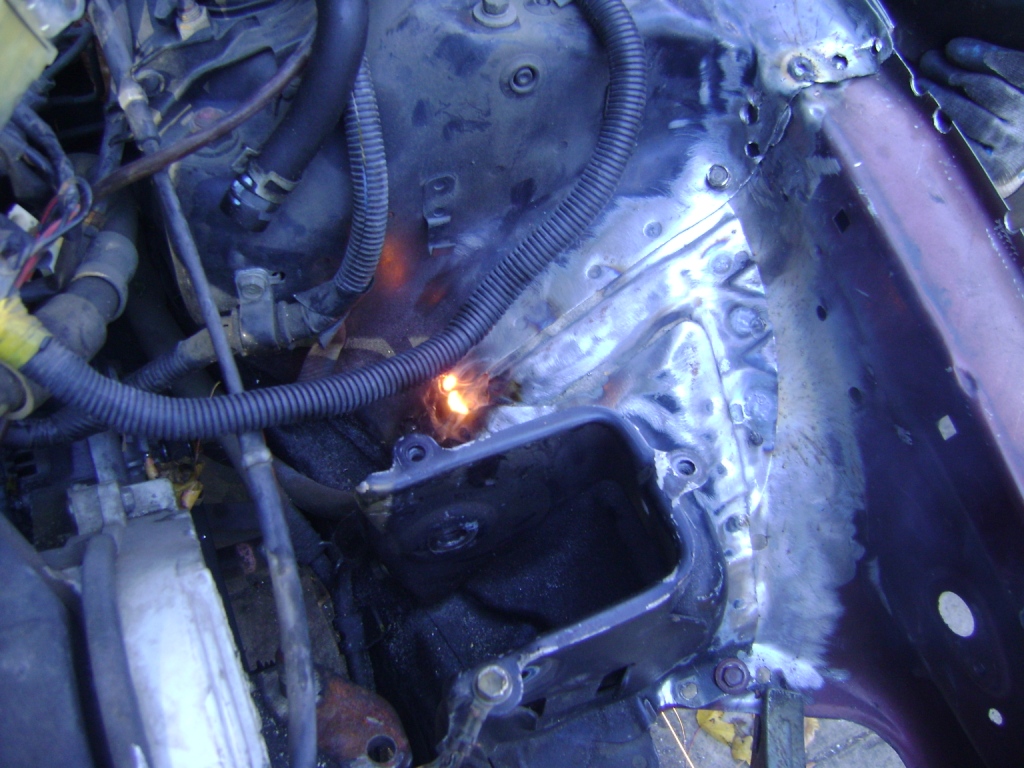
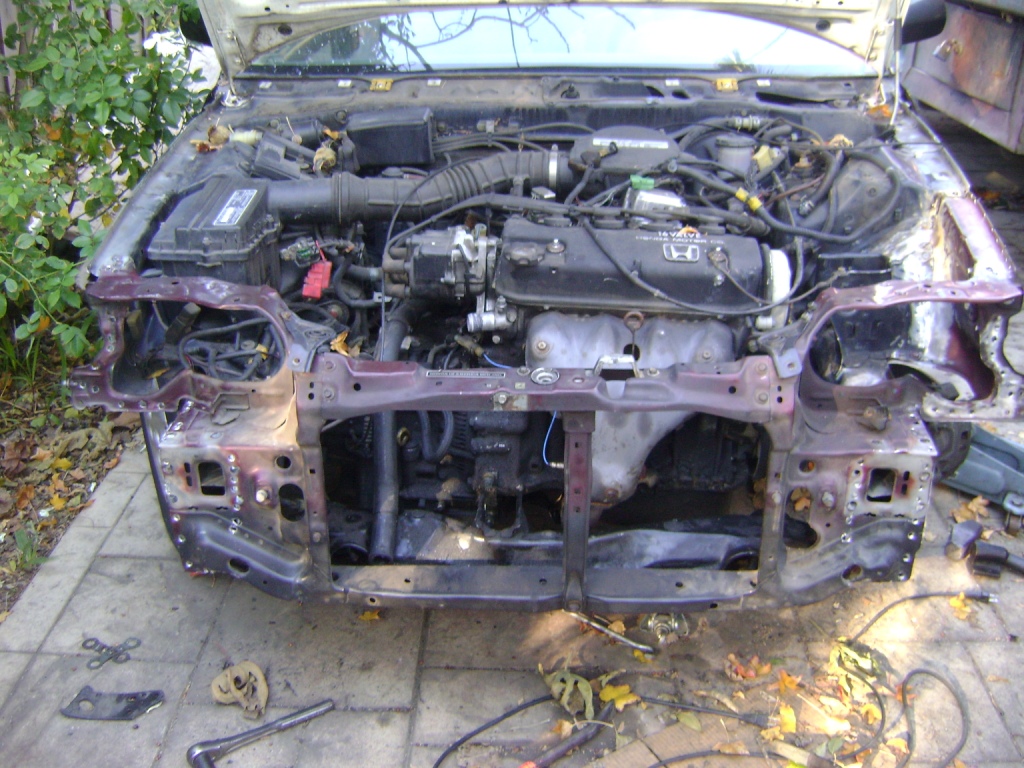
Installing the body panels and final painting. I used off-the-shelf Plastikote spray paint in some GM color that matched the stock paint pretty well. Once the paint had dried overnight, I hand-polished it with 3M rubbing compound. No clearcoat was applied. It came out pretty nice, I think.
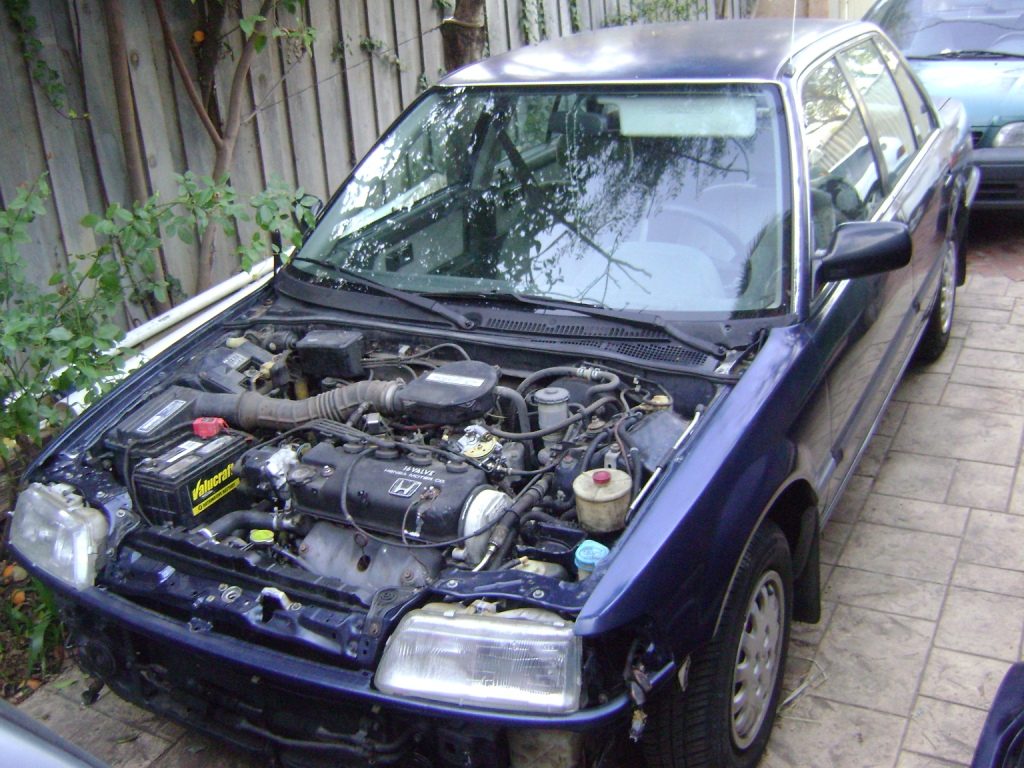
Finished product: